Import from CSV file
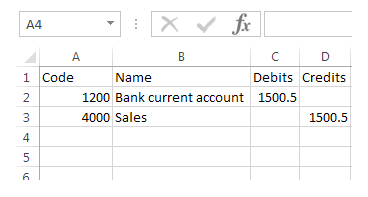
If you have your client’s initial trial balance data in a CSV file, you can import it to save you entering it manually.
Go to:
- Trial Balance > Enter an initial trial balance > Import Trial Balance or
- Trial Balance > Enter a comparative trial balance > Upload an import file
-
Step 1 of import trial balance — Select a product from the drop down list. If you cannot see your product in the list, select Other, then enter the product name in the free text box.
Select Upload and browse for your file, then select Open.
-
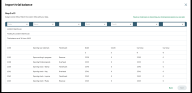
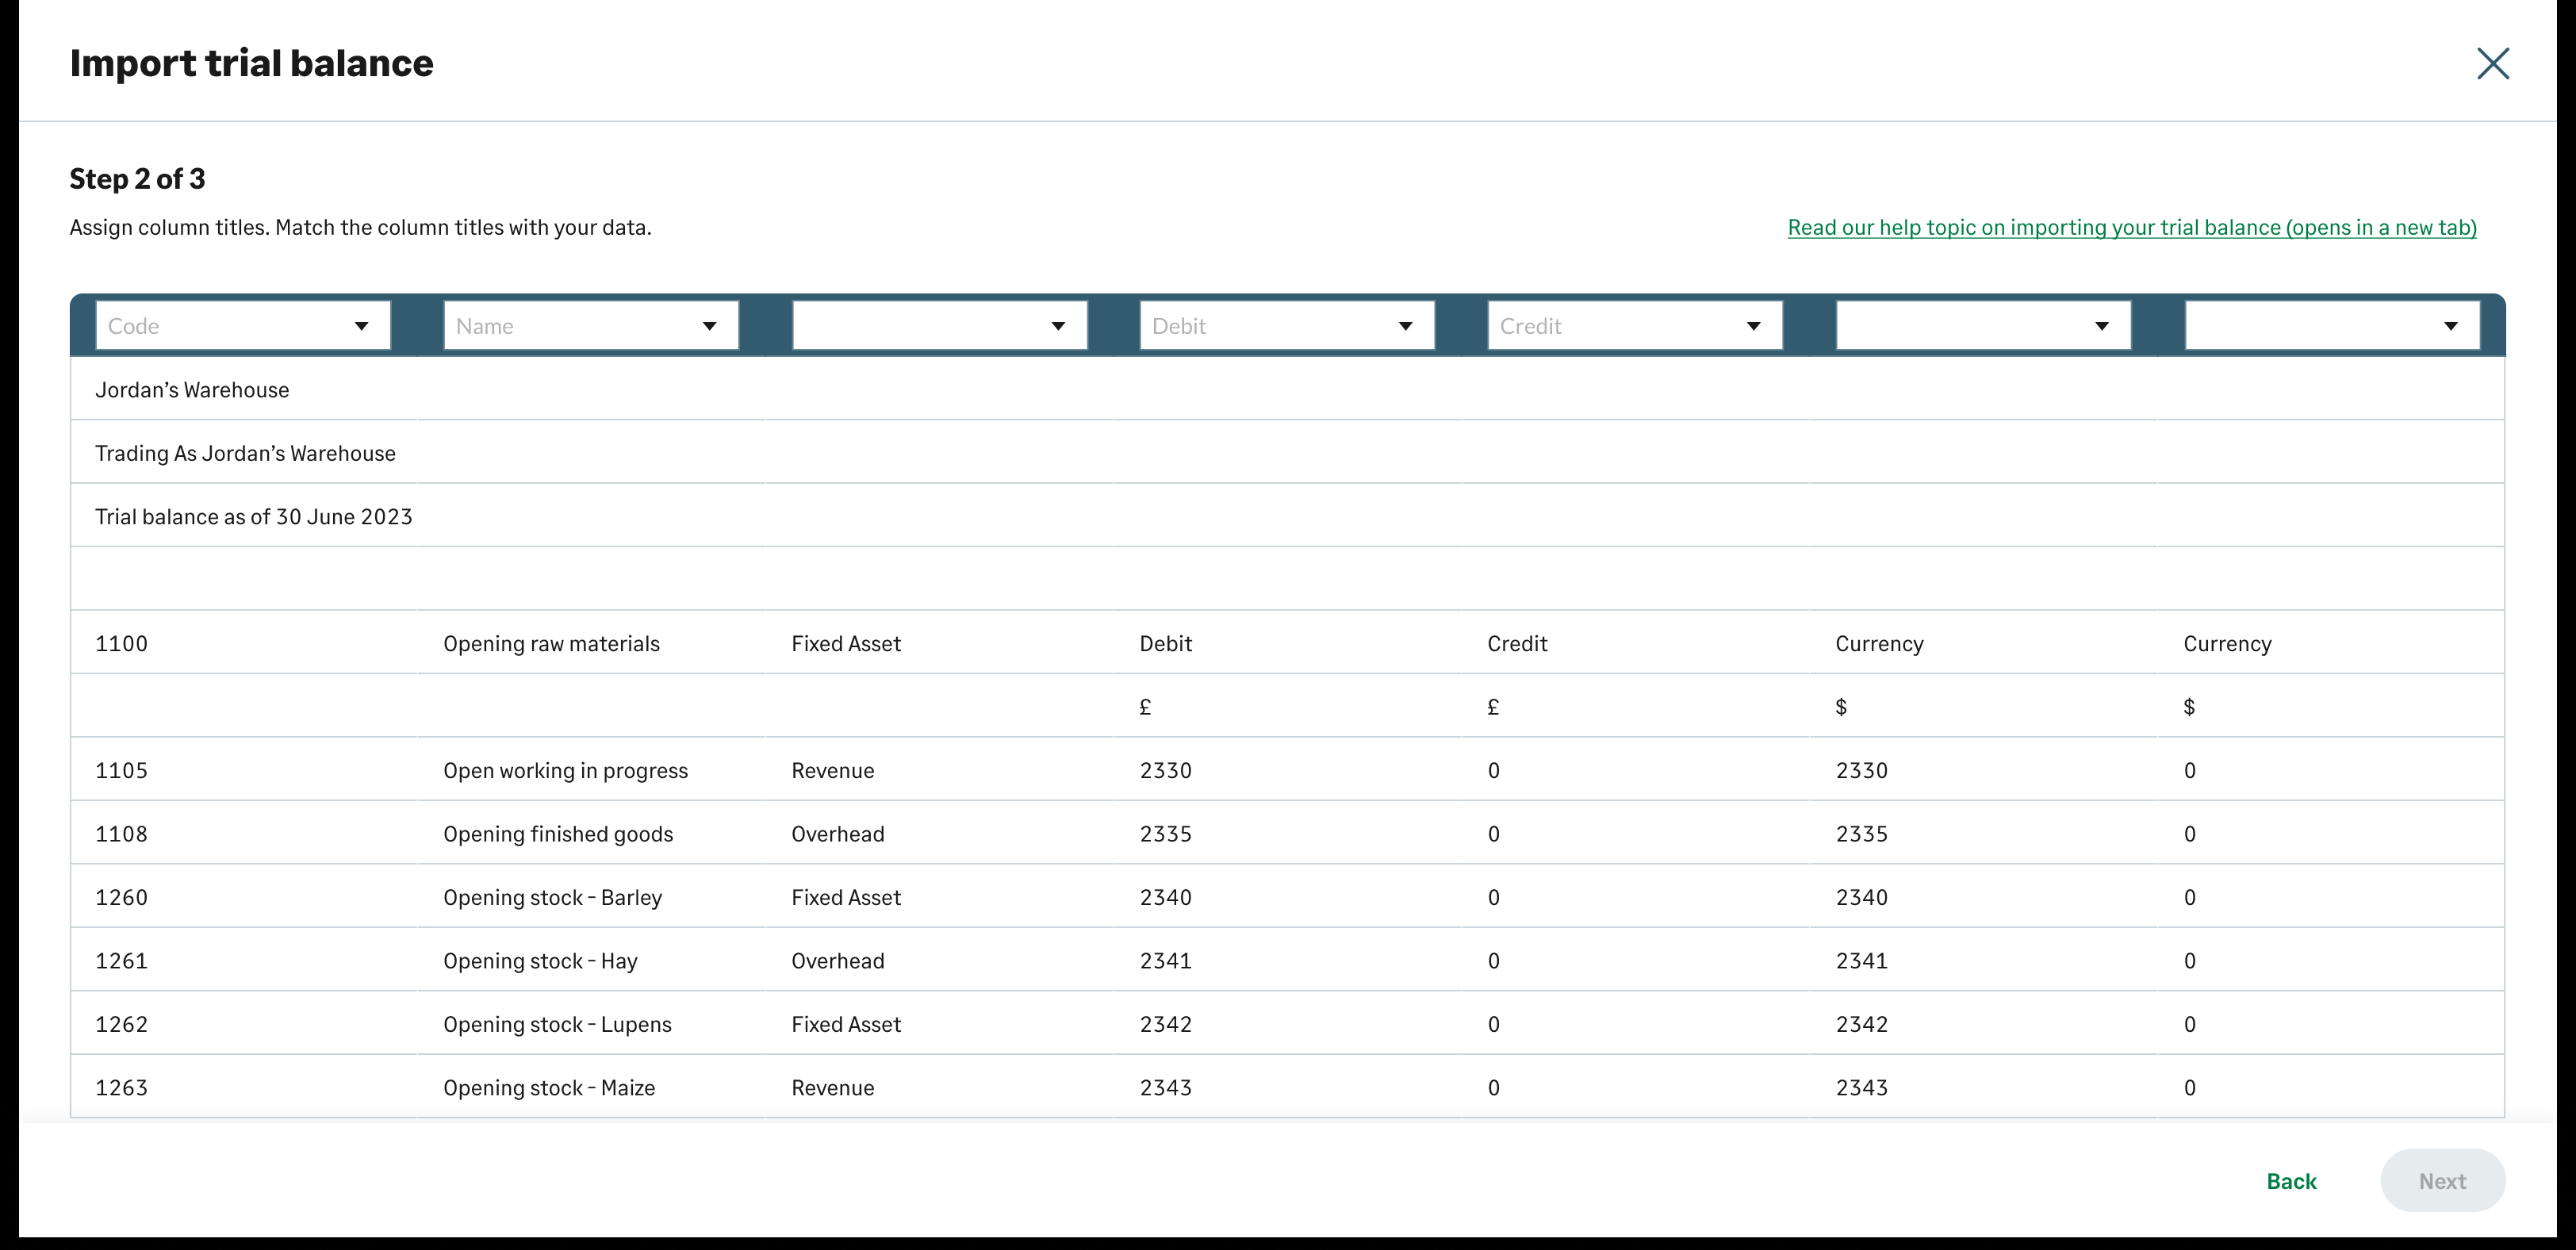
Step 2 of import trial balance — Review your imported data and match the column titles with your data. You must select columns for Code and/or Name, Debit and Credit to continue.
Select Next.
-
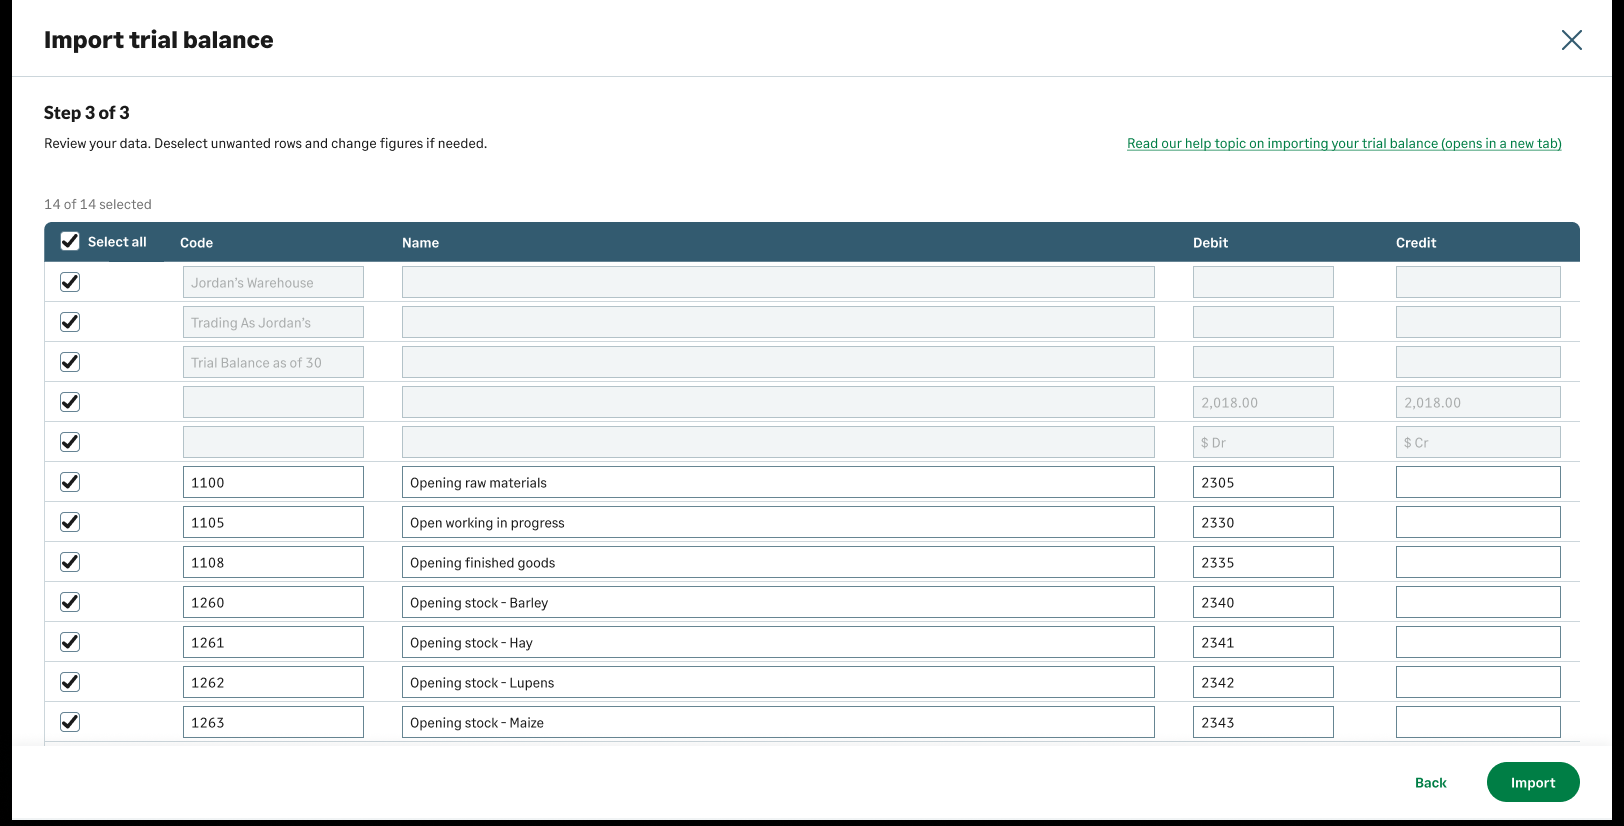
Step 3 of import trial balance — We'll show you a preview of your trial balance.
Review your data. Clear ticks from unwanted rows and change figures if needed.
Select Import.

-
You'll be returned to the Trial balance screen to view your imported trial balance and check the nominal codes match with Final Accounts codes. See Adjust imported nominal account codes to map with Sage Final Accounts codes.
What to do if you do not have a data file to import
Adjust imported nominal account codes to map with Sage Final Accounts codes
You may need to select Sage Final Accounts nominal account codes to map with the nominal accounts codes you have imported.
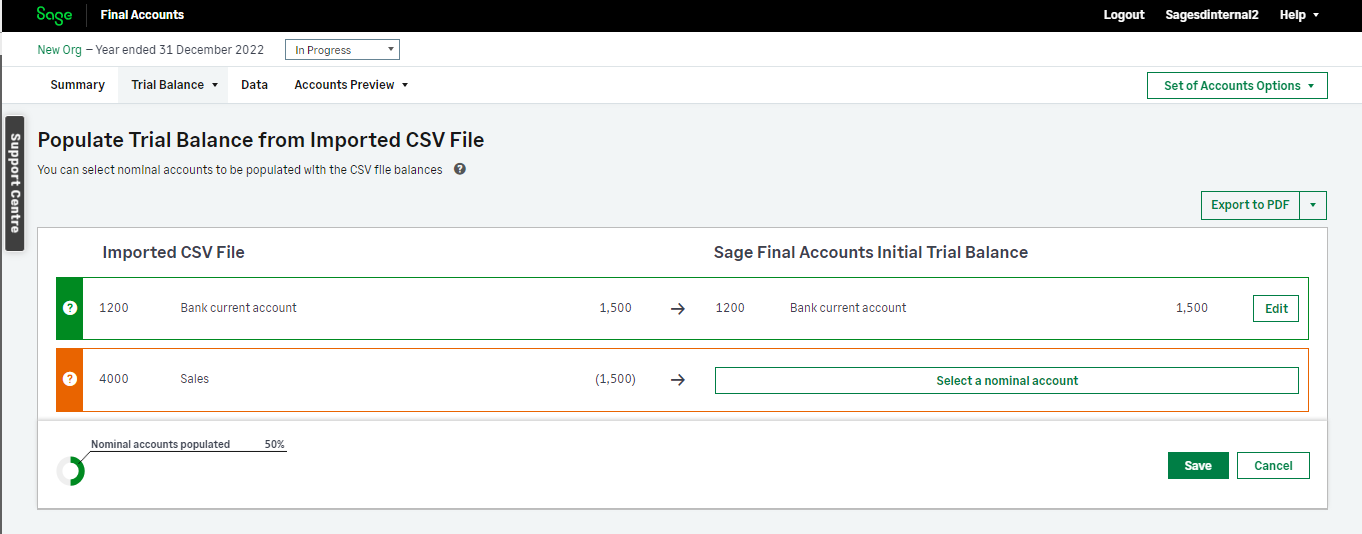
Rows marked in orange with a Select a nominal account button need a nominal account selecting before you can save your trial balance.
- On a row you want to change, either select Edit or Select a nominal account. The row expands to show you the current mapping and more options.
-
Click Select another nominal account > enter the code or name > enter the value.
or Create nominal account to map > enter the nominal account details > Create.
-
Select Confirm.
Repeat this until you’ve allocated all your account balances.
- Select Save.