Working with subscriptions
With Sage Accounting Partner Edition, you can manage your client’s subscriptions to accounting and payroll applications. You use a client’s details to set up a subscription to the required application. You specify whether you or your client pays for the subscription and define access rights for the application users.
You can also create and manage the compliance application that you use to file your clients’ taxes. Your practice pays for these subscriptions.
Learn more about the Sage Network and the bundle for Accountants and Bookkeepers.
You’re only able to make changes to subscriptions when you’re paying for them. If your client pays for their own subscriptions, you can’t make changes.
Add a subscription to a single client
- Find your client in the client list and click the client row.
- From the client sidebar, select Manage Subscriptions.
- Select the subscription to add, then click Subscribe.
- Select Continue then review the information is correct.
- Select Finish.
If you’ve provided access to your client, they’ll have access to the new application when they next log in.
Your next monthly invoice is amended accordingly.
Remove a subscription from a single client
1. Find your client in the client list and click the client row.
2. From the client sidebar, select Manage Subscriptions.
3. Select the subscription to remove, then click Unsubscribe.
4. Select Continue then review the information is correct.
5. Select Finish.
If you’ve provided access to your client, the relevant application won’t appear for them when they next log in.
Your next monthly invoice is amended accordingly.
Change who’s paying for a subscription
When creating a client, you choose whether you or your client is paying for the subscription. Once you’ve added a subscription, you can’t change this even if your client hasn’t yet activated their account.
Add a subscription for a client with more than one business
If you’ve clients with more than one business, you can set them up with a separate Sage Accounting subscription for each of their businesses. Your client will have a single login to access all of them.
If you’re going to import clients using a CSV file, see Adding multiple clients.
Before you begin
Set up their main business for Sage Accounting and give your client a login to this business. See Add clients one at a time.
- Select Add New Client.
- Choose Business Client.
-
Fill in the Contact Information and Main Address.
Make sure to use the same email address you used when entering the client’s main business.
- Select Save.
- Find your client on the Pending tab.
- In the row of your client, click Subscription +.
- Choose who is paying.
- We’ve set Who can log in? to Both of us.
- Select the subscriptions to add.
- Select Save.
If you check the client row on the Pending tab, you’ll see Awaiting Client Activation under Activation Status.
Over to your client…
Once you’ve clicked Save:
1. We email an activation link to your client.
2. They click the link in the email and set a password.
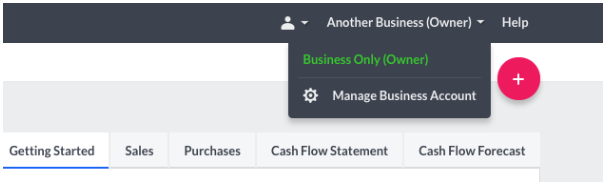
3. Once they’ve completed the Quick Start Wizard for the new business, they’ll have access to both businesses via the business switch menu.
4. We’ll move your client to the Active tab and you’ll be able to access their data.
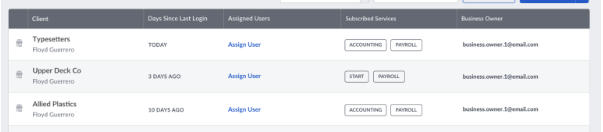
5. You can sort these multi-business clients either by searching by the email address or sorting on the Business Owner column.
Activation troubleshooting
If your client doesn’t get the activation email, follow these steps:
- Click the resend button
 and we’ll resend the email.
 - Check you’ve got the correct email address for your client.
- Ask your client to check their junk or spam email folders.
- If you’re still having trouble, call our support team.
Tips for working with subscriptions
- Each client must have a unique email address. Two different clients cannot use the same email address.
- If your client doesn’t receive the subscription activation email, select the Resend Activation Email icon beside the client name on the Pending tab.
- Ensure your browser allows pop-up windows so the Subscription Management page opens when you select Manage subscriptions.